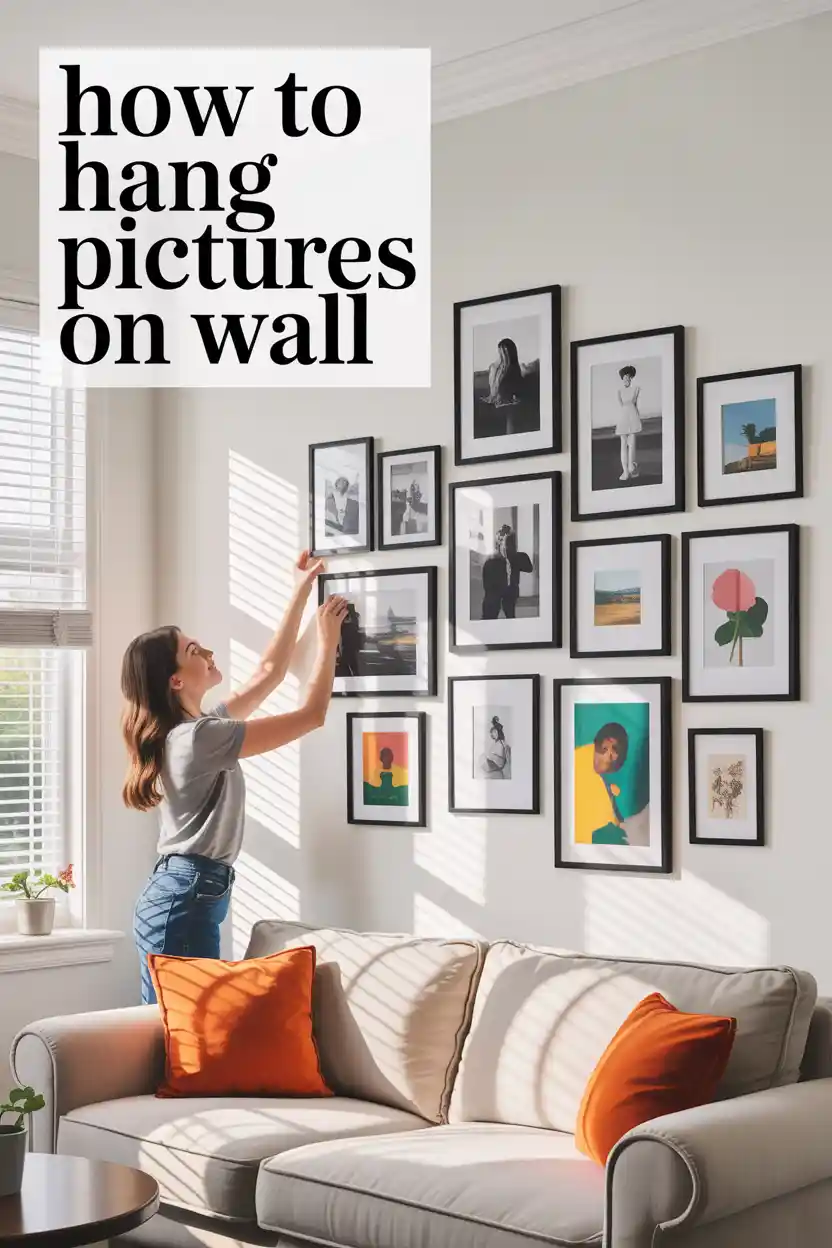
How to Hang Pictures on Wall: The Complete Guide for a Perfect Display
Decorating your home with pictures is one of the easiest ways to add personality, warmth, and style. But the real challenge comes in figuring out how to hang pictures on wall so they look straight, balanced, and stylish. Whether you’re decorating a bedroom, hallway, or living room, the right picture arrangement can instantly transform a blank wall into a stunning focal point.
In this guide, you’ll learn expert tips, creative hacks, and step-by-step instructions on how to hang pictures on wall layout, how to do it without nails, and even how to make your gallery wall look perfectly aesthetic.
Why It Matters: The Impact of Wall Art
Pictures aren’t just décor—they tell your story. From family portraits to travel memories and art prints, they help create a cozy and inviting atmosphere. For more inspiration on transforming blank walls, check out these wall painting ideas that pair beautifully with your picture arrangements.
Step 1: Plan Your Layout Before Hanging
One of the most important steps is deciding on the layout. Knowing how to hang pictures on wall layout prevents random nail holes and messy arrangements.
Here are some tried-and-true layout options:
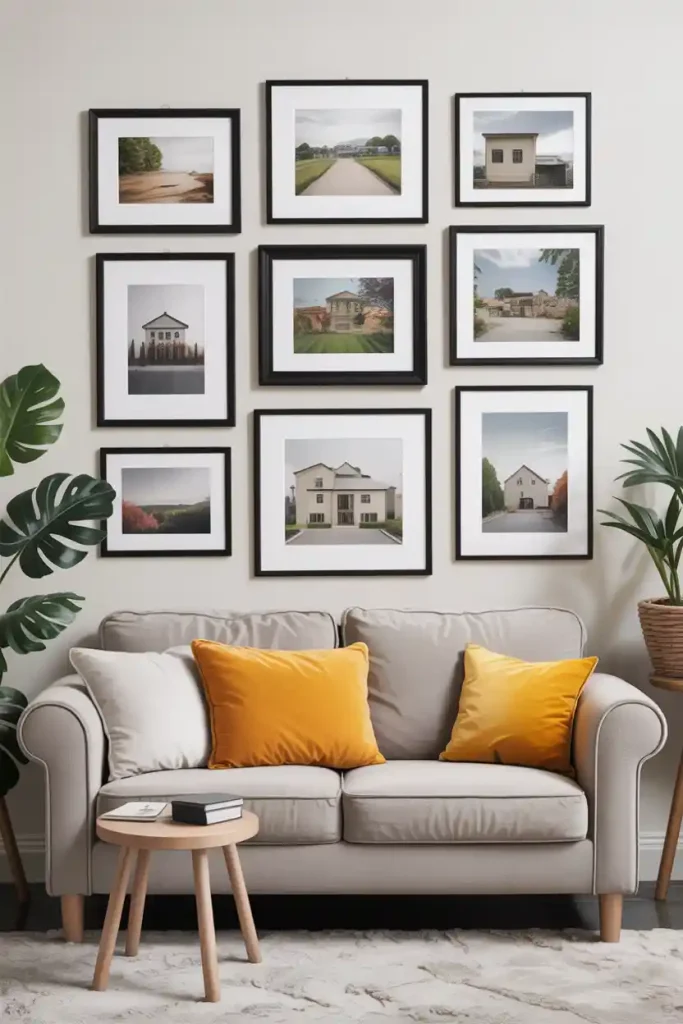
- Grid Layout – Perfect for a clean, modern look with frames of the same size.
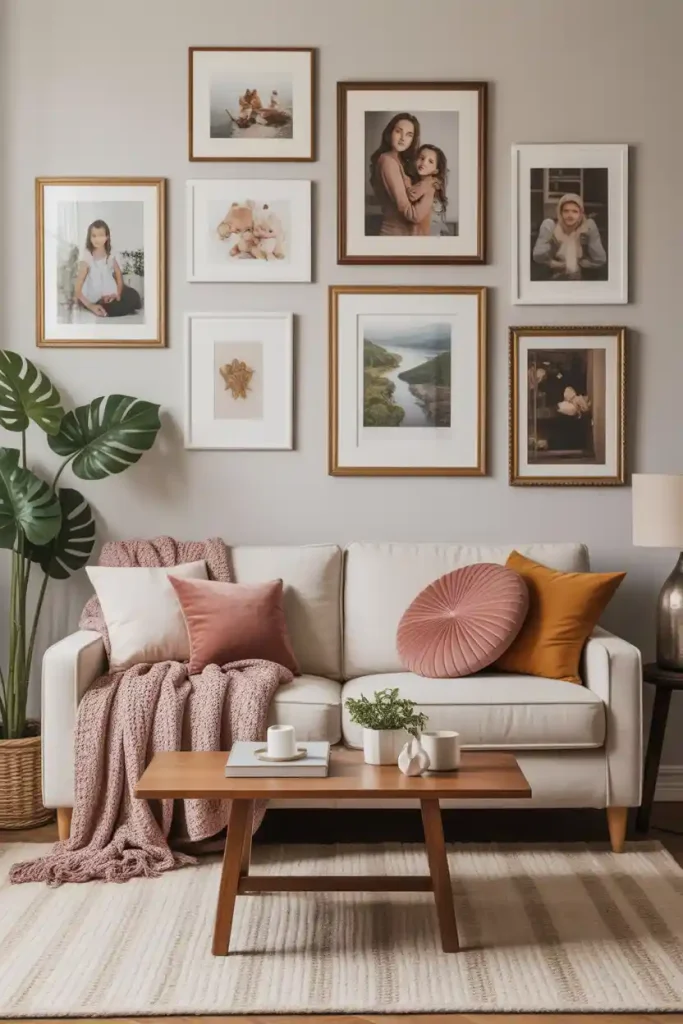
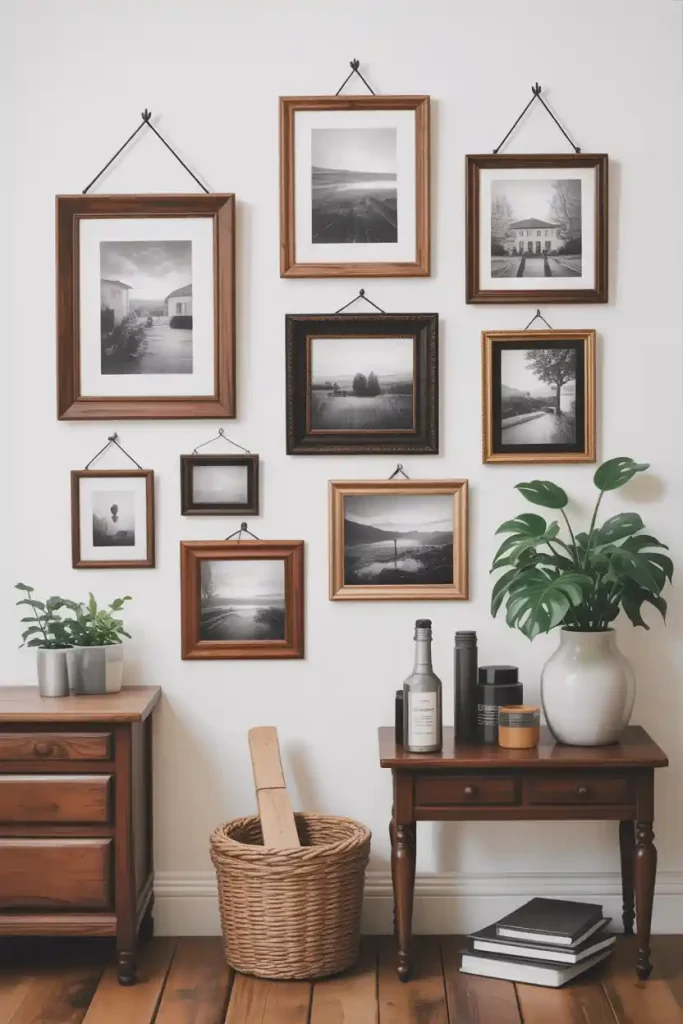
- Gallery Wall – A mix of different sizes and frames arranged in an artistic way.
- Linear Layout – Works well in hallways or behind sofas.
- Statement Piece – A single oversized frame as a bold focal point.
👉 If you need layout ideas, check out this guide on how to arrange pictures on wall for inspiration.
Step 2: How to Hang Pictures on Wall in Bedroom
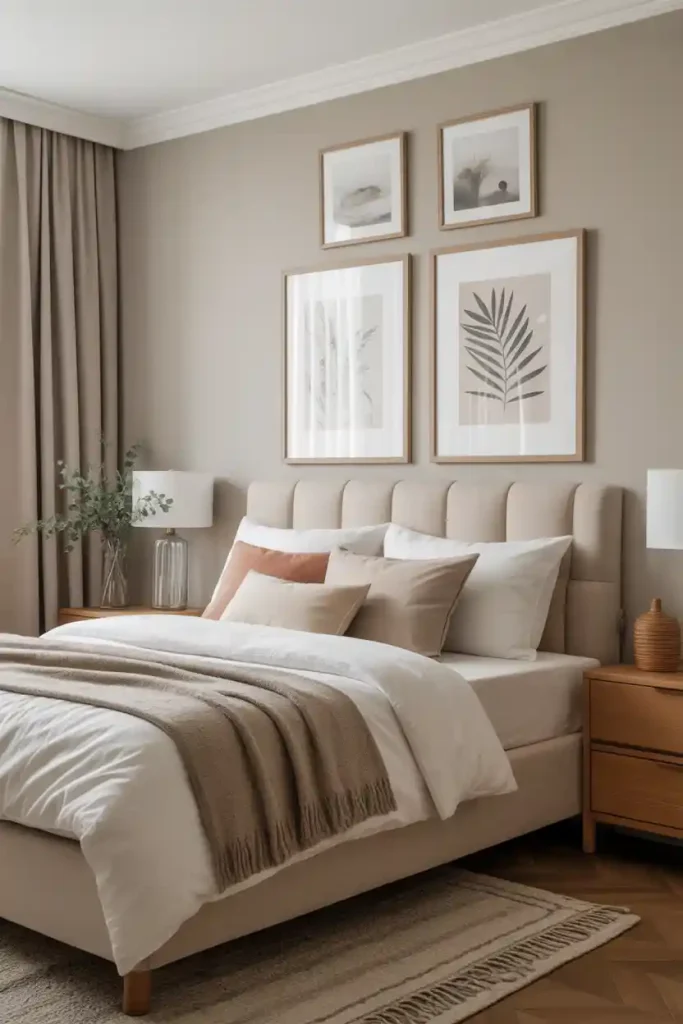
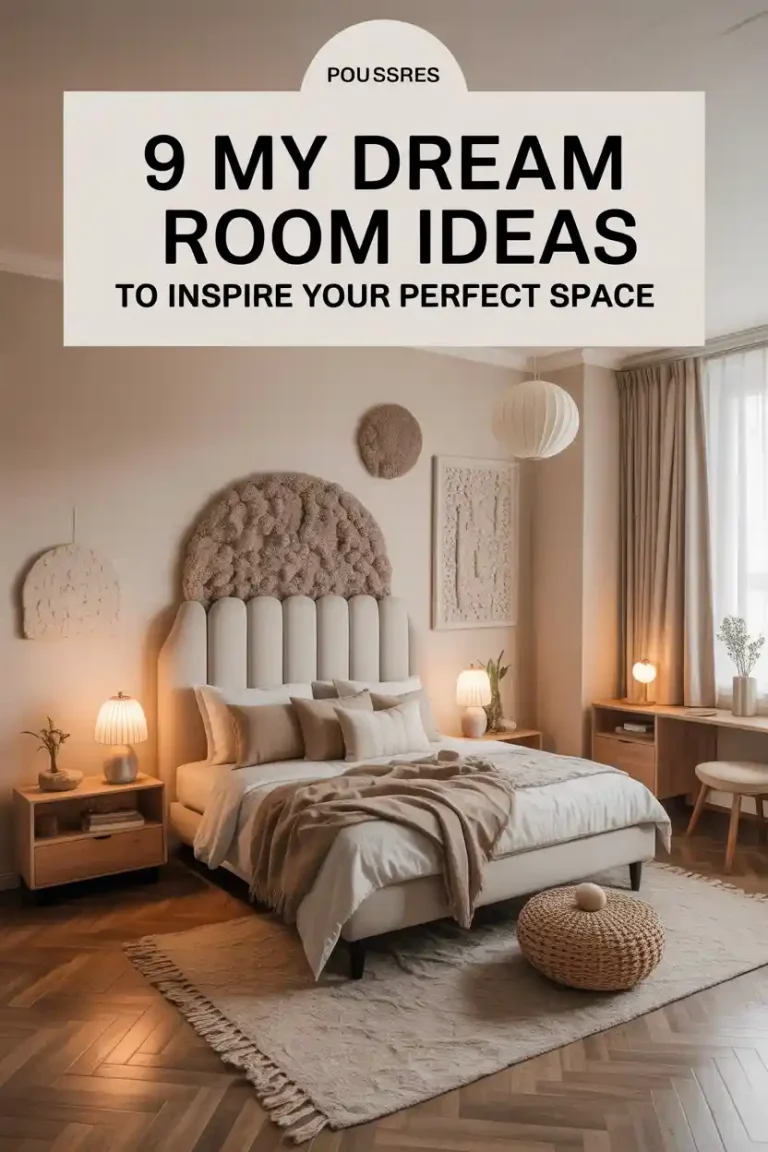
Your bedroom is a personal retreat, and wall art should reflect that. When deciding how to hang pictures on wall in bedroom, consider these ideas:
- Place a set of 2–3 frames above the bed for a symmetrical look.
- Create a soft gallery wall with calming tones that match your bedding.
- Use botanical or abstract prints for a relaxing vibe.
Pair this with dreamy décor ideas from our room inspiration bedroom guide for a cohesive aesthetic.
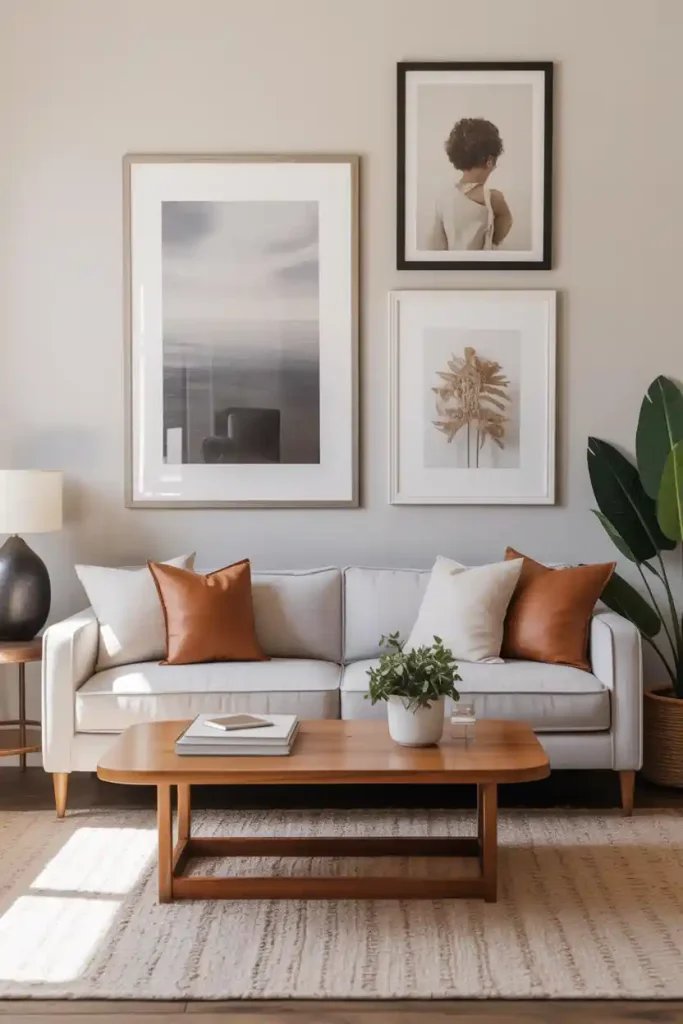
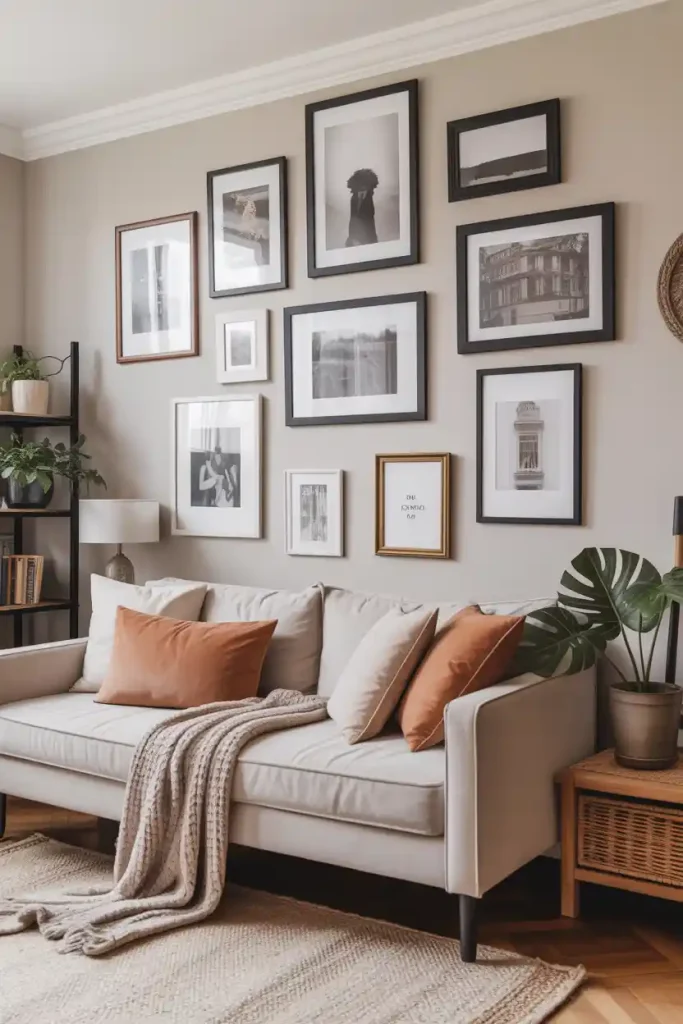
Step 3: How to Hang Pictures on Wall Behind Sofa
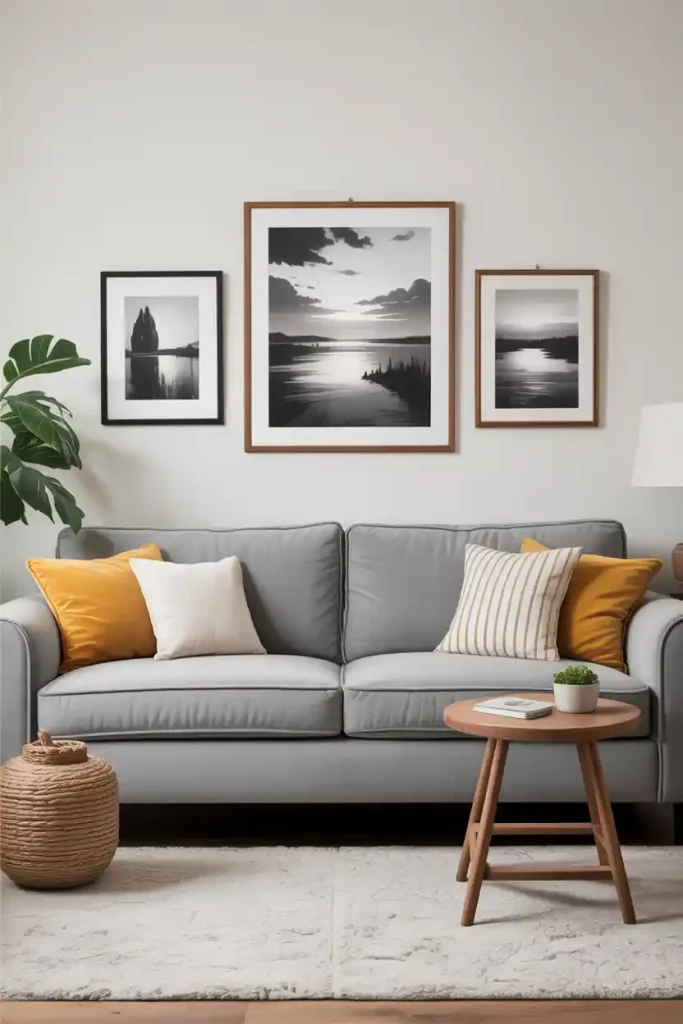
The wall behind your sofa is prime real estate for pictures. The key is balance.
- Centering: The middle of your artwork should be at eye level (about 57–60 inches from the floor).
- Scale: Use one large piece or a set of three frames for balance.
- Spacing: Leave at least 6–8 inches between the sofa and the bottom of the frame.
This tip ensures you avoid awkward gaps while still keeping the focus on your wall décor.
Step 4: How to Hang Pictures on Wall Straight
Crooked frames are a big no-no. Here are tips for hanging straight every time:
- Use a level tool or a laser level.
- Mark your nail spots with painter’s tape.
- Hang using two hooks for extra stability.
👉 For a cleaner look, explore DIY floating shelves as an alternative way to display multiple pictures without drilling multiple holes.
Step 5: How to Hang Pictures on Wall With Nails vs. No Nails
Many people wonder whether to use nails or opt for nail-free methods. Here’s a breakdown:
With Nails
- Best for heavy frames.
- Use picture-hanging hooks instead of simple nails for more support.
- Works well for traditional homes.
No Nails
- Ideal for renters.
- Options include adhesive strips, hooks, and Velcro hangers.
- Perfect for lighter frames.
👉 If you’re decorating a rental or don’t want to damage walls, these how to hang pictures on wall no nails methods will save you stress.
Step 6: How to Hang Pictures on Wall With Wire
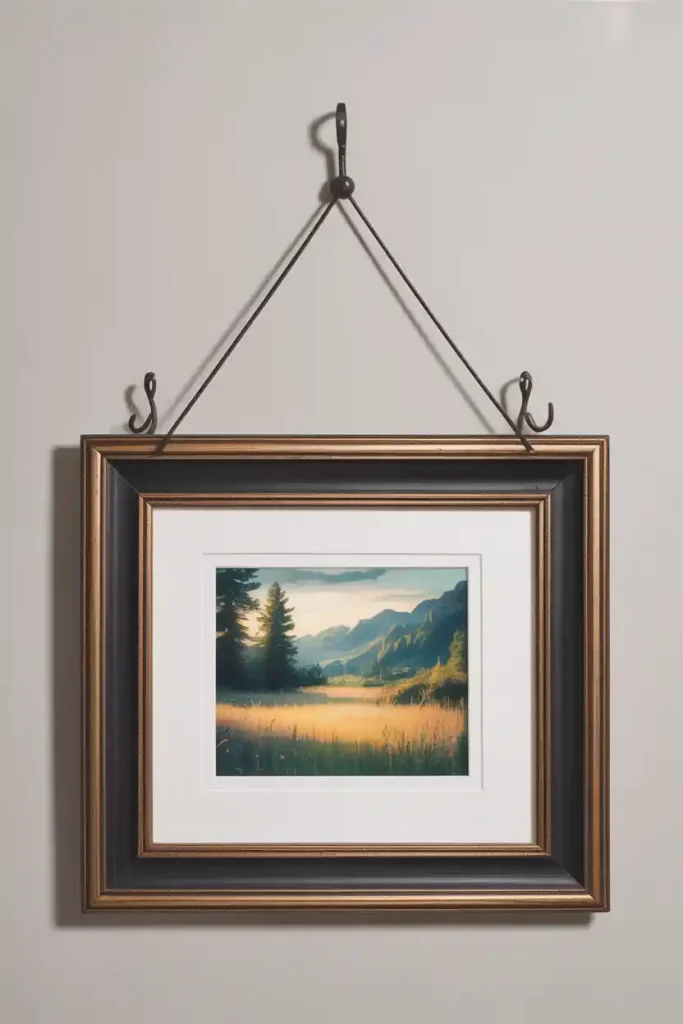
Some frames come with hanging wires at the back. Here’s how to do it properly:
- Measure the distance from the top of the frame to the peak of the wire when pulled tight.
- Mark that point on the wall.
- Install two hooks for extra stability.
This method helps distribute the weight of the frame evenly.
Step 7: Creative Hacks for Hanging Pictures
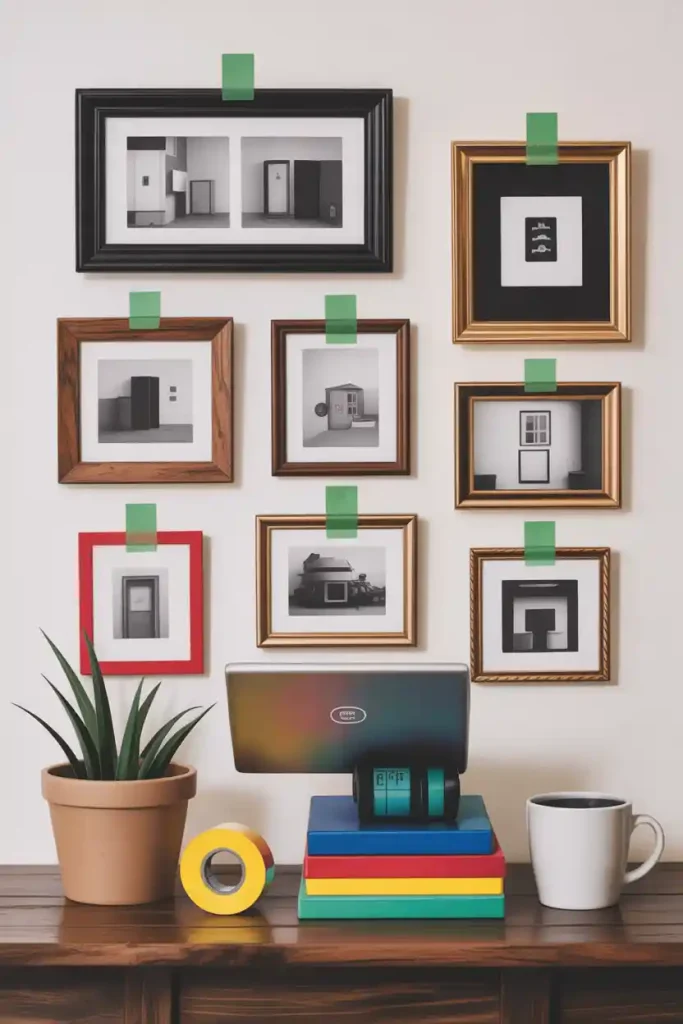
Looking for a how to hang pictures on wall hack that saves time? Try these:
- Use painter’s tape to test layouts on the wall before hammering.
- Try a paper template to arrange multiple frames.
- Use command strips for quick changes.
- Hang frames with a measuring tape app for precise spacing.
Step 8: How to Hang Pictures on Wallpaper
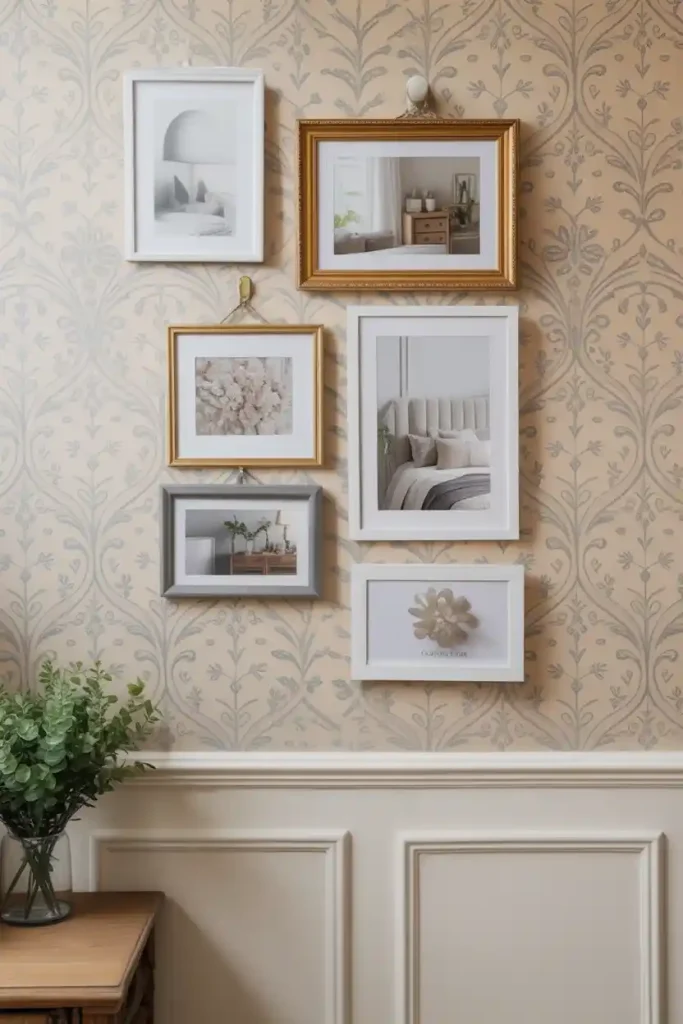
If you have wallpaper, be careful when hanging pictures. Nails or hooks can damage the design. Instead, use:
- Adhesive hooks for lightweight frames.
- Picture rail molding if you want flexibility.
- Transparent hooks that blend with the wallpaper design.
For design inspiration, check out these wallpaper bedroom ideas that pair beautifully with framed art.
Step 9: How to Hang Pictures on Wall Aesthetic
If your goal is an aesthetic gallery wall, follow these rules:
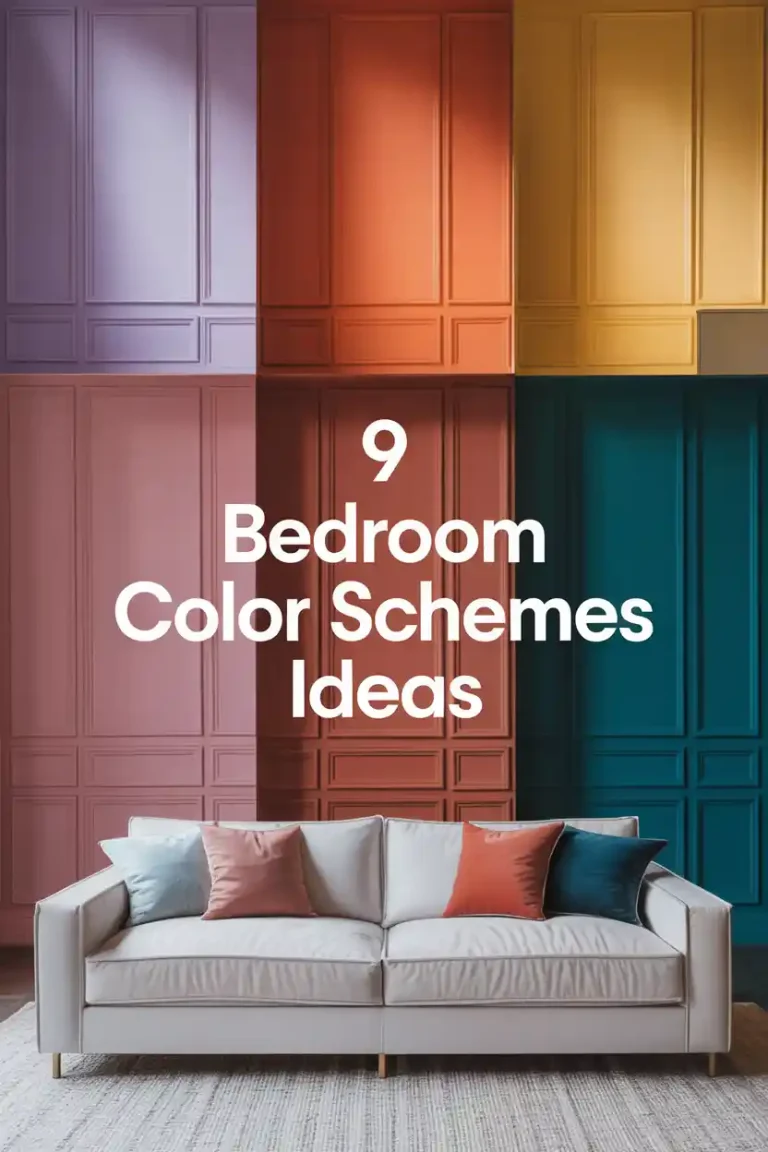
- Stick to a consistent color palette (black & white, pastel, or bold colors).
- Mix in personal photos with art prints for character.
- Use matching frames for a clean aesthetic, or mix vintage and modern for a boho vibe.
For more aesthetic room décor inspiration, see our guide on how to make your room aesthetic.
Step 10: Special Cases – Bathrooms & Small Spaces

- Bathroom: Use waterproof frames and avoid placing them directly above sinks. For inspiration, explore these modern small bathrooms.
- Small Rooms: Stick to light colors, smaller frames, or one large mirror to avoid clutter. See these small double bedroom ideas for space-saving tricks.
Final Tips: How to Hang Pictures Like a Pro
Here’s a quick recap of the best how to hang pictures on wall tips:
- Always plan your layout before drilling.
- Eye-level hanging creates balance.
- Group pictures by theme, frame color, or subject.
- Use hacks like painter’s tape and paper templates for easy setup.
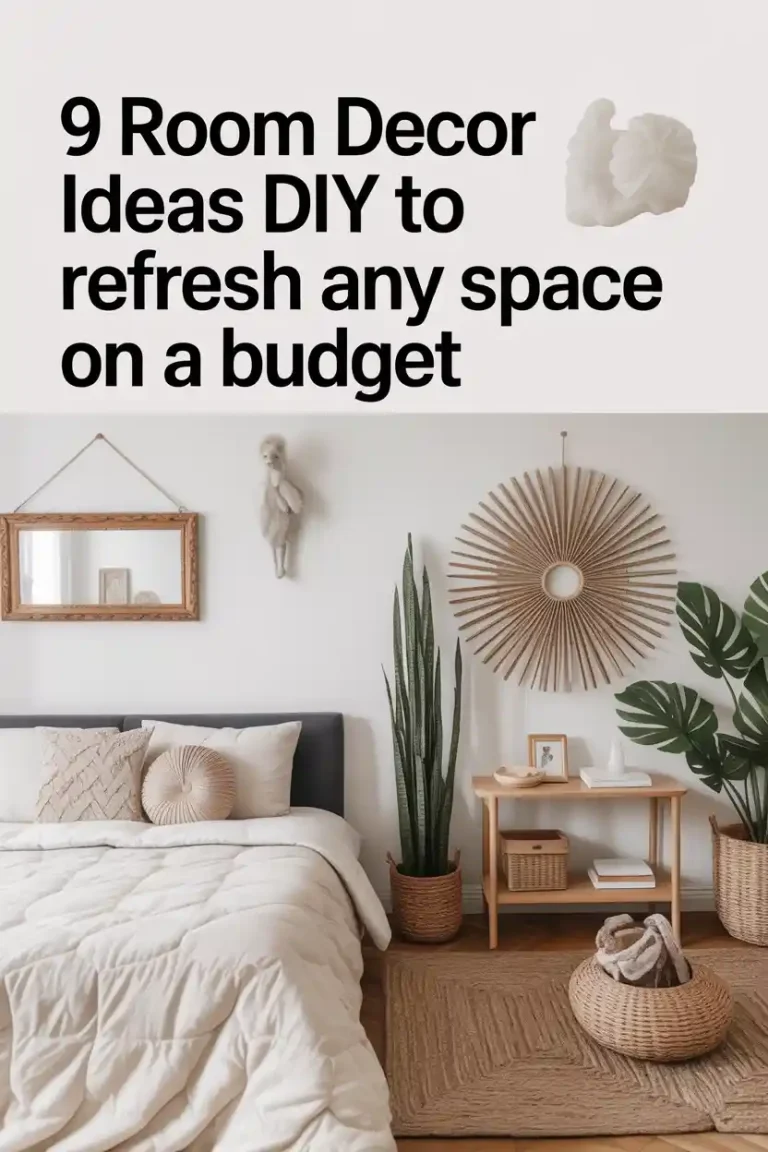
For more creative home styling inspiration, explore these cute DIY room décor ideas that complement your picture walls.
Conclusion
Learning how to hang pictures on wall isn’t just about hammering a nail—it’s about creating balance, harmony, and personal style in your space. From bedroom retreats to living room statement walls, the right arrangement can completely transform your home.
Whether you’re going for a minimalist look, a bold gallery wall, or renter-friendly no-nail solutions, these tips will help you achieve a wall display that looks professional and effortlessly stylish.
For more décor inspiration, don’t miss our guides on room decor ideas DIY and bedroom ceiling light ideas to elevate your entire space.